Original Post


Maya Help
So I'm still very new to Maya,
So I extruded a polygon, and when I add subdivisions it only does it to the first "cut" and the rest are just flat, any way to fix this so it's all in an equal "thickness"?
So I extruded a polygon, and when I add subdivisions it only does it to the first "cut" and the rest are just flat, any way to fix this so it's all in an equal "thickness"?
img

|Evil|
I don't exist
this initial setting are just for initializing objects, it glitches after you edit the object in size or topology
So you may ask " how do I do then?"
go to the edit mesh menu and find create edge loop, click on the square to define how you will do the edge loops.
you can select them relatively or equal spaced and the option of how many you can put at once.
to get a complete edge loop you need all square polies path.
google flow of mesh and all quad solutions.
also, you put a three faces sharing an edge, it is called non manifold geometry, take care, this can lead to problems
Last edited by dengue; Jan 17, 2017 at 12:51 AM.
yeah what he said.
Simply explained:
Basically once you edit the object its too late to change subdivision width or height of the object, it only works on an object you haven't modified yet.
You can use insert edge loop tool and then press the face and extrude, but its only one of the many tools in your toolbox. However its nice to get familiar with the edgeloop tool because its used quite a lot in modeling.
Thanks to the both, now I have another question.
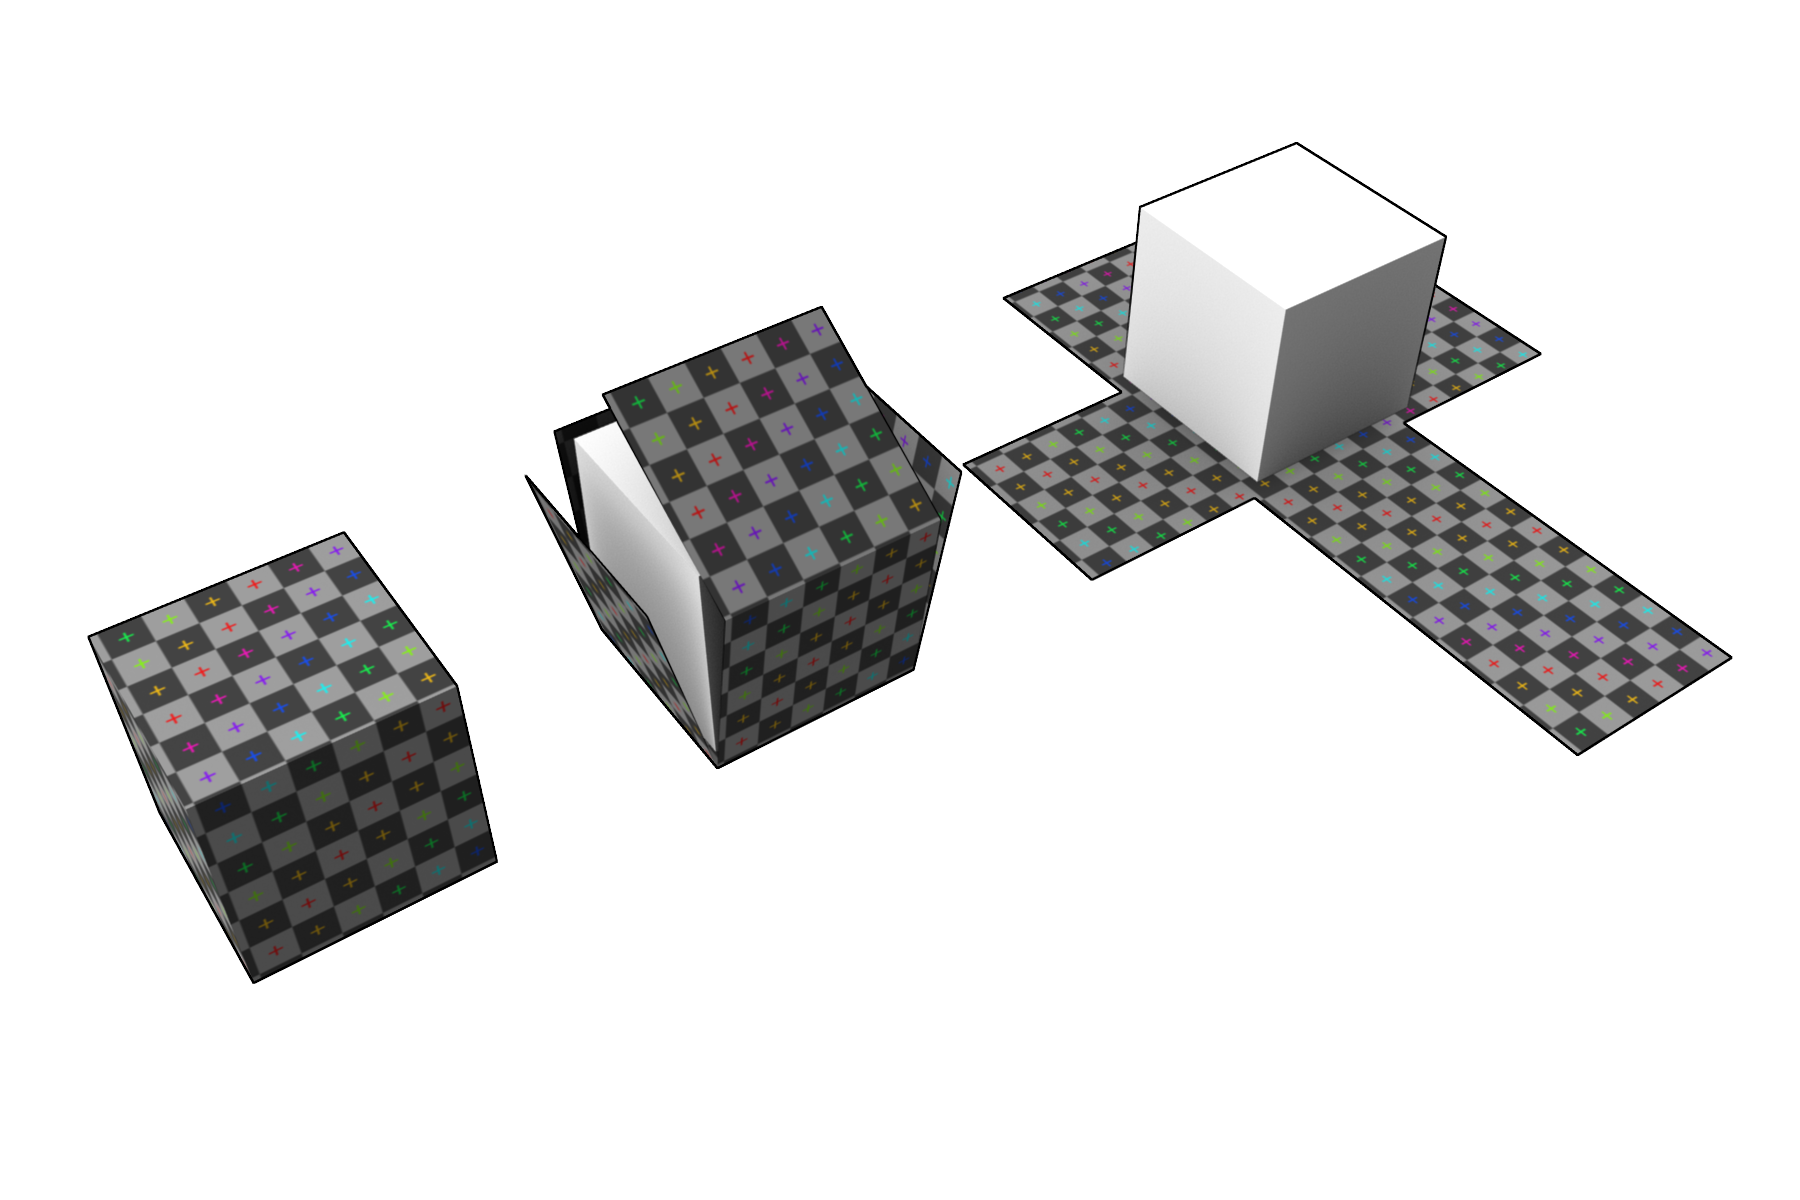
So in UV mapping, do I just move the UV shapes wherever I can just to clean the sheet up or is it best to leave it where it was first loaded.
Also if i were to move them, is there any format that It could make it easier when texturing?
The bottom left is what I've moved.
So in UV mapping, do I just move the UV shapes wherever I can just to clean the sheet up or is it best to leave it where it was first loaded.
Also if i were to move them, is there any format that It could make it easier when texturing?
The bottom left is what I've moved.
IMG

Last edited by Lucy; Jan 17, 2017 at 10:08 PM.
|Evil|
I don't exist
For this you should probably look up some tutorials
https://www.youtube.com/watch?v=G2qFdVr-FEk&t
You can decide how you want to lay out the UVs, but generally its a nice idea to keep the UVs well organized and in as few parts as practically possible, making the UVs are a skill upon itself. Think of it as how you want to unfold your object so you can paint on it.
UV mapping image